An alaia is a thin, wooden surfboard dating back to pre-20th century Hawaii. Alaia’s are characterized by their round noses, square tails, and most importantly LACK of fins. That’s right. No. Fins. Instead, alaia’s rely on their sharp rails to hold the board in the face of the wave.
If you’ve ever seen someone riding an alaia, you probably thought one of two things:
“What is that kook doing riding a ply-wood plank out here?”
Or
“I love the way that guy’s gliding and sliding down that wave. It looks so fluid and smooth!”
I find that typically people either love alaia’s or think they’re pretty dumb. There doesn’t seem to be much of a middle ground.
On the one hand, why would you ride a little piece of wood when you can get a sweet fiberglass board from a really talented shaper? Fiberglass boards are more buoyant which makes them easier to paddle. They’re lighter which makes them much easier to carry. And they’ve got fins which makes them way easier to turn! Why would we willing throw out the past 60 years of surfboard innovation and go back to surfing pieces of driftwood?
The answer: I don’t know. But I do know this: the first time I saw someone surfing an alaia, I knew I had to try one. There’s something about these thin, wooden boards that is irresistible. Alaia’s point back to a simpler time. They allow us not only to embrace the history of surfing, but also to experience something raw and new that we’ve never experienced before.
Last weekend, I decided to try to make my own alaia, and if you want to get back to the roots of surfing and make one for yourself, read on.
Homemade Alaia Instructions
Materials you’ll need:
- 4′ x 8′ x 0.75″ sheet of Pine plywood from The Home Depot
- 60 grit sanding discs (4x)
- 150 grit sandpaper
- Black & Decker RO100 5-Inch Palm Grip Random Orbit Sander
- Black & Decker JS660 Jig Saw with Smart Select Dial
- Minwax 67100 Teak Oil, 1 Quart
Shaping process:
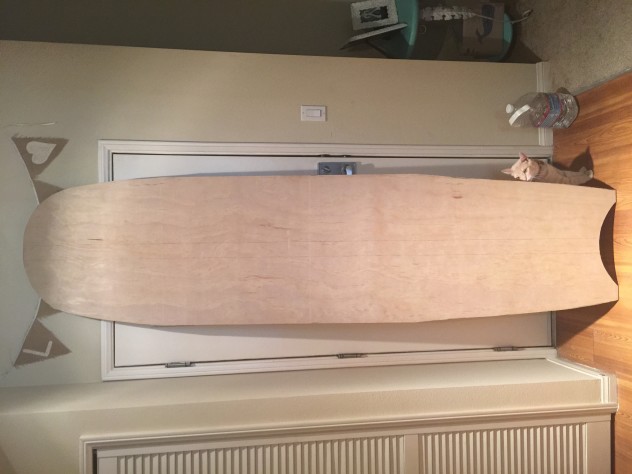
The first step in the shaping process is to draw your outline on the sheet of plywood. Because alaia’s are not very buoyant, they are really difficult to paddle. Knowing this, I wanted to get as much length and volume out of my plywood as possible. My approximate dimensions are: 7’10” x 24″ x 0.75″. However, this is my first crack at making an alaia so aside from trying to give myself a lot of volume and imitating alaia shapes I’ve seen before, there wasn’t a lot of motivation for my specific dimensions.
Once you’ve traced your outline, it’s time to grab that jigsaw and cut it out. A few really important things to note when you’re jigsawing:
- Always err on the outside of the lines. It’s easy to sand off a little extra wood if you stray too far outside of the lines, but you’re never going to be able to add wood back in if you accidentally cut into your board.
- Try to keep your jigsaw moving smoothly forward and make smooth turns. If you make a lot of sharp edges that cut into the wood, you’re probably going to have a lot more sanding to do afterwards.
- Try to keep the jigsaw vertical. You want the rails to be straight because they’ll be easier to sand later on in the process.
As you can see, my cat’s a big surfing fan. Haha I couldn’t keep her away from this thing.
Also, don’t be afraid to get funky and try out some interesting shapes. Most alaia’s have a square-tail, but I decided to try for a moon-shaped tail just to give the board a personal flair.
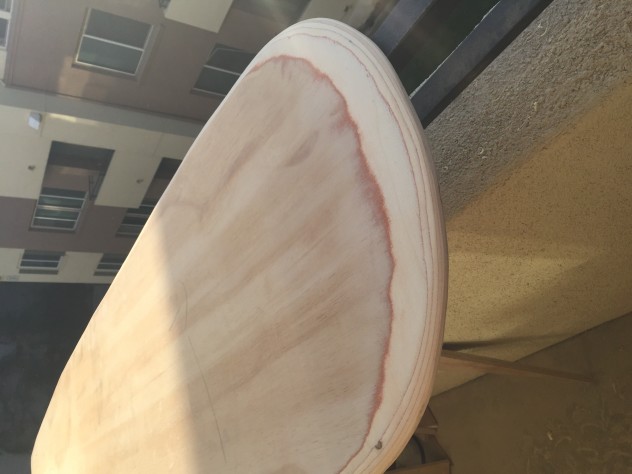
Once you’ve gotten the board cut out, it’s sanding time. For me, the sanding was the most time-consuming process because this is the step where you’ll be fine-tuning the shape of your board. After researching common alaia rails, I found that common practice is to turn the rails down on the back two-thirds of the board and turn the rails up on the front third of the board. The downturned rails in the back will help the alaia grip the face of the wave. The upturned rails in the front will help the nose plane and nose dive under water. Also, keep in mind that you want really thin rails on an alaia because you’re using these to grip the wave in place of fins.
Once you’ve got your rails right, you’re almost there. The last step of the shaping process is to sand a small channel on the underside of the back of the board. This concave in the bottom of the board will provide lift which causes water flow. To be honest, I’m not really sure how this channel will affect the feel of my alaia, but that’s the point of shaping your own board. You learn through trial-and-error. Hopefully this isn’t one of the errors.
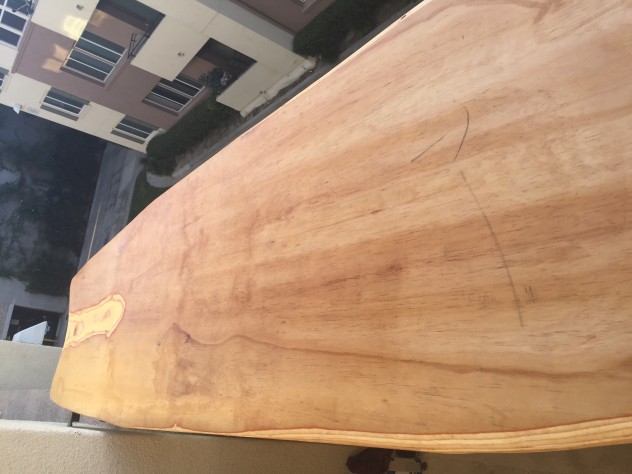
Once you’ve made the finishing touches to your surfboard shape, it’s time to waterproof your new alaia! There are many different ways you can waterproof your board: there’s the typical fiberglass and resin method, linseed oil, teak oil, wood varnish, and probably many more options as well. Because I am trying to make my board as cheaply, easily, and environmentally friendly as possible, I chose to waterproof my board with teak oil. Plus, Alaia’s aren’t hollow, so there’s really no need to fiberglass the whole thing.
Anyway, you basically just need an old rag and your oil of choice for this step. Spread the oil evenly on each side of the board. Make sure to get a lot of oil on the rails and sanded sections of the board because these will likely absorb a lot. Then, let this first coat dry for 20-30 minutes and repeat the process. You can even add a third coat of oil if your board is still looking like it needs it, but mine was fine after 2 coats. Now, let your board completely finish drying for about 24 hours and then you’re ready to glide across some waves in true Hawaiian style.
There you have it. A complete guide to making your own homemade alaia surfboard.
Please share your alaia creations in the comments, and let us know any tips or advice you’ve learned from shaping and surfing your alaia’s.


